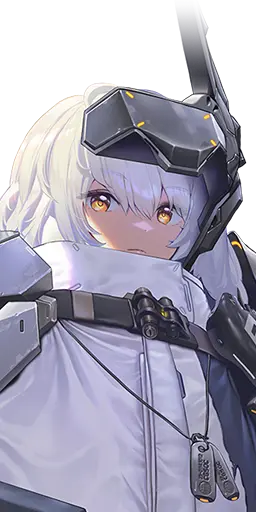
 SSR
 Pilgrim
 Attacker
 Assault Rifle
 Iron
 Type 3
Released 11/4/2022
This guide was translated into English by AI from the Korean version. View original (Korean)
An Iron Burst 3 Assault Rifle DPS whose firepower centers on a single Full Charge pierce shot.
She is still used for one-shots in story and bosses, and in multi-part pierce boss fights.
Her Burst Skill level and ATK buff lineup need investment, and as new firepower units arrive, competition for the same slot grows fierce.
Every time her normal attacks land 30 hits, extra damage and a short Increased ATK cycle. Attacks during Full Burst raise her Crit Rate, and S2 deals damage to enemies within range. Her Burst Skill switches her to a charged sniper shot, firing a single Full Charge pierce shot with a greatly increased final damage multiplier.
During Full Burst, charge fully, then fire the pierce shot.
Against multi-part bosses, aim so the pierce goes through each part.
In one-shot lineups, time it so the Full Charge finishes before ATK buffs end.
Powering Up! grants ATK and Critical Damage to the single DPS with the highest final ATK, good for setting up one-shot firepower.
Lining up ATK support and Burst Gauge management together stabilizes her firepower during the charge window.
Against multi-part bosses, using pierce and ATK buffs together lands big damage on each part.
 Piercing Cube2
 Destruction Cube3
 Onslaught Cube
For pierce and crit-focused play, prioritize the Piercing Cube. Against multi-part bosses, cover Damage to Parts with the Destruction Cube. Set Charge Damage with the Onslaught Cube. If Harmony Cube levels differ a lot, use the higher-level cube before the ranking.
Cover Charge Speed and Charge Damage lines to land Full Charges within buff windows. In Miranda single-buff lineups, set up ATK distribution before Crit Rate. Against multi-part bosses, prioritize Damage to Parts and pierce bonuses.
The Full Charge multiplier is most of her firepower, so raise the Burst first. S2 provides Full Burst crits, and is supplementary.
Used for one-shots across CP gaps in story, in Iron-weakness Solo Raid, and against multi-part pierce bosses. She is not a main Arena pick.
One Full Charge pierce shot can carve down bosses and elites heavily.
Against multi-part bosses, her pierce hits several parts for greater firepower.
Without Burst Skill levels and an ATK buff lineup, her firepower does not come through.
If ATK buffs end during the 5-second charge, her Full Charge multiplier drops.
She is weak at area damage and mob clearing.
 NikkeHub


