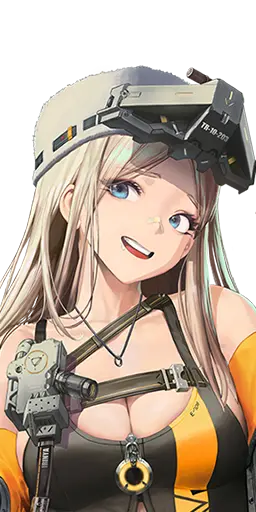
 SSR
 Missilis
 Defender
 Rocket Launcher
 Iron
 Type 2
Released 11/4/2022 · Favorite Item 2/12/2026
Guides assume the Favorite Item is equipped.
This guide was translated into English by AI from the Korean version. View original (Korean)
A defensive Iron Burst 2 Rocket Launcher.
She weakens enemies and gives allies a short shield. The more reliably you land Full Charge shots, the better her skills chain together.
Her Burst picks several enemies with low remaining HP, hits them, and lowers their DEF for 10 sec. Skill 1 reduces Skill 2's cooldown each time a Full Charge shot hits. Skill 2 gives allies a shield based on her own max HP for 5 sec.
Auto is fine. Auto still fires Full Charge shots, but aiming and firing are automatic, so missed or under-charged shots mean triggers less often. Manual is better if you want to land Full Charge consistently or time the shield yourself.
 Adjutant Cube2
 Quantum Cube3
 Resilience Cube
Ordering Charge Speed (Adjutant Cube), Burst Gauge (Quantum Cube), then Reload (Resilience Cube) aligns her charge loop with the Full Burst cycle. This setup fits her Rocket Launcher and Burst 2 role.
Secure the Elemental Advantage damage and ATK lines first, and set the remaining lines to suit how the weapon feels, such as Charge Speed.
If her Burst has a debuff and damage, invest there first, then cover Skill 1 and Skill 2 in that order.
In Story, bosses, and Tower she props up the party well with debuffs and shields. In Tower and Arena her usefulness varies by squad.
She lowers enemy DEF and briefly protects allies with a shield scaled to her own HP.
As a Rocket Launcher, her damage and shield are inconsistent if you're not used to reloading and Full Charge. Her shield is short, so if your timing is off it does little.
 NikkeHub